Use the widget builder below to create your free Contact Form widget. Select a template and click the “Continue with this template” button to get started.
How to Use the Contact Form Widget Generator
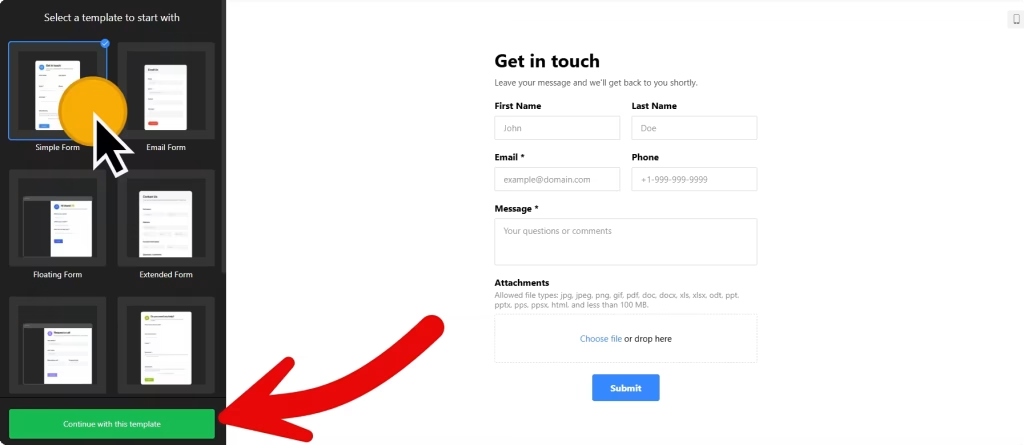
- Choose a template: Select a preferred template and click the “Continue with this template” button. Some available templates are Simple Form, Email Form, Floating Form, Extended Form, Request a Call, and Blank.
- Build Form: You can create your contact form widget by using 17 blocks under the Fields section. Some of the field types include short and long text, phone number, date, time, file upload, choice, image choice, drop-down, and consent. Under each field, you can add your custom placeholder text, label, or hint and make it a required field. Once you have added the necessary form fields, you can also customize the header and footer.
- Conditional logic: You can utilize the conditional logic feature to show or hide specific fields based on values entered on other fields. For example, if the user selects their preferred contact method as WhatsApp, you can display the WhatsApp Number field and hide others that you might have included, such as a Telegram username.
- Email notifications: In the Email Notifications field of the contact form generator, you can customize settings to receive a custom email message every time someone completes your form and send an email response to everyone who fills it out.
- Layout settings: There are two embed types: Inline and Floating pane. Inline is suited for embedding contact forms on a dedicated page. At the same time, the floating pane is perfect for displaying it across multiple pages as a floating widget, such as a Click-to-Call or WhatsApp Chat widget. Under Form Layout, you specify whether you want the form fields to be arranged vertically or horizontally.
- Change appearance: Select a color scheme and ascend color to customize the appearance of the contact form widget’s elements. Use the custom CSS field if any customization is unavailable on the editing panel.
- Settings: This includes post submission settings (show success message, redirect to URL, hide contact form), spam protection via Google reCAPTCHA, form pre-fill settings, language settings, and custom JavaScript.
- Integrations: You can send contact form entry data to your Mailchimp account, store it on Google Sheets, and use other tools via Zapier.
- Once you’ve customized the widget, click the “Add to website for free” button. This will allow you to add your HTML contact form to your website at no cost. You will also need to register to save your changes.
The Contact Form widget’s HTML embed code
Your Contact Form widget’s embed code includes two parts: An external JavaScript file and an HTML div tag with a class attribute that is unique to the widget you created. If you created a contact form with a floating pane layout, paste the embed code just before the closing body tag (). Otherwise, if you created an inline contact form, created a dedicated page on your website, and pasted the embed code on your website’s template, theme, or HTML source code editor.
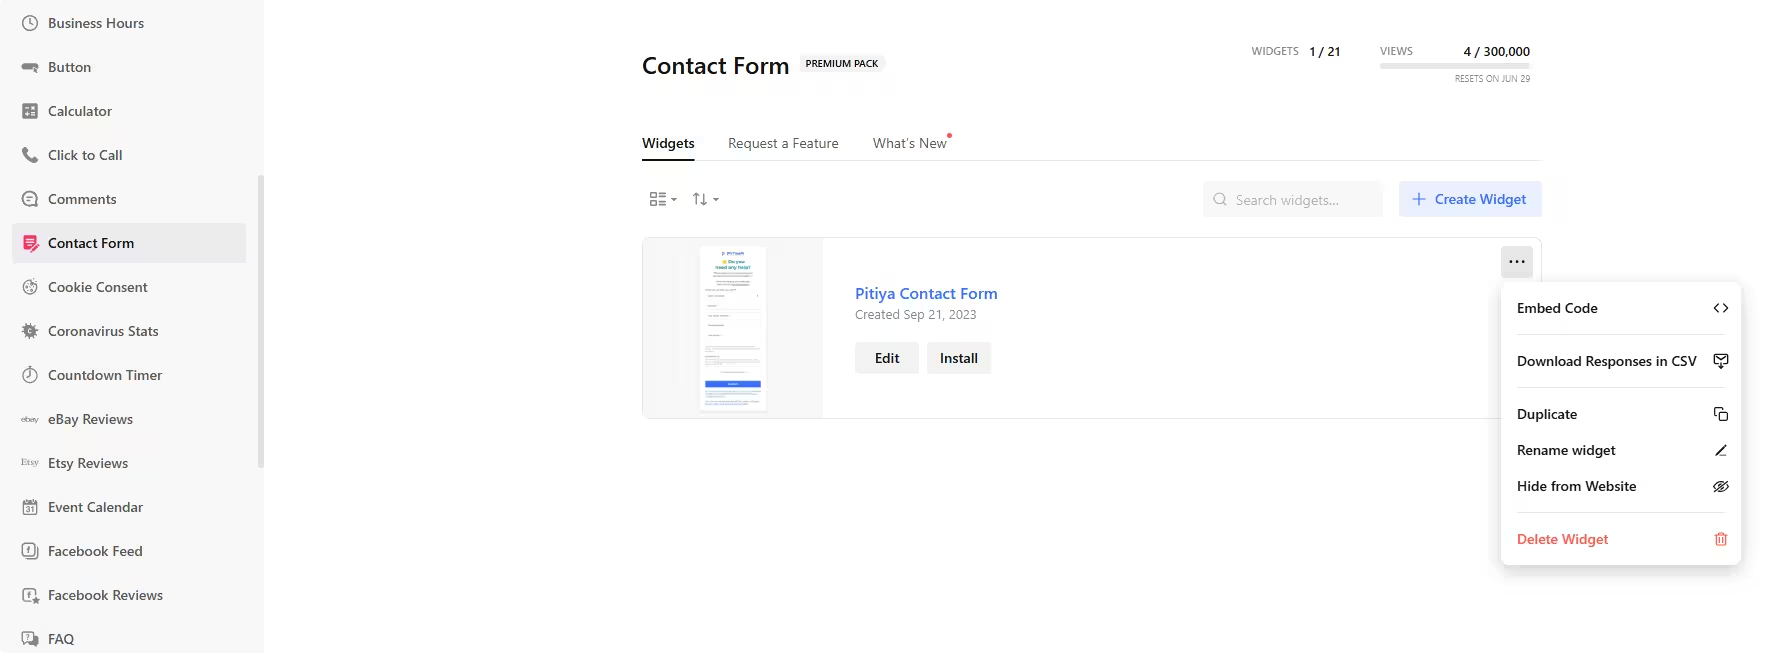
How to Manage Your Contact Form Widgets
Once you have created your contact form widget for websites, you can easily manage it on your account. In your dashboard, search for the “Contact Form” app under the list of apps. As you can see from the following screenshot, you can create more contact form widgets, edit existing ones, and get HTML embed code.